
From retail store owners to restaurateurs, managing customer orders while handling receipt generation can feel like a never-ending chaos. As an owner, you need both speed and accuracy to satisfy the buyer and also maintain the records of receipts.
Having said that, store owners like you have no choice but to embrace automation and technology tools that aid you in driving profitable business while lessening your administrative burden.
Today, POS billing software does everything to keep your business up and running. One small yet important part of the point of sale system is connecting your thermal receipt printer. Because you can not create hand-written receipts every time someone pays the bill.
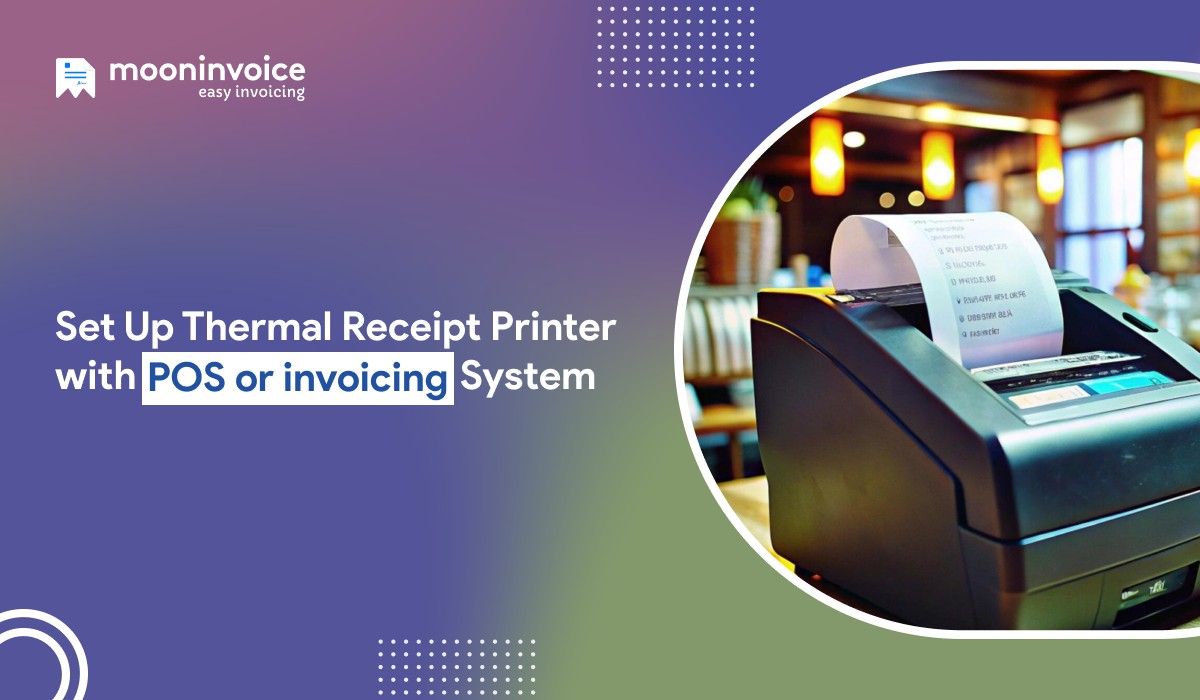
Here, we will guide you on how to integrate a thermal receipt printer with your POS machine or invoicing software for fast receipt printing.
What Is a Thermal Printer for Invoicing?
A thermal invoice printer is a specialized device that produces heat in order to print images or text on thermal paper. It is a printing technology marvel that replaces the traditional ink-based printers, reducing their overall maintenance cost.
When connected with POS or invoicing software, these thermal printers play an exceptional role in boosting your receipt generation process. It can give you high-quality receipt printouts in a flash without the requirement of ink or toner.
Besides receipts, thermal printers also help in generating barcodes, labels, and other things, becoming first-choice printers for restaurateurs, cafe owners, and retailers.
4 Steps to Integrate a Thermal Receipt Printer With a POS System
Here’s how to connect your thermal printer to the POS or invoicing system on your Windows operating system.
1. Set Up a Connection
First of all, you need to give a physical connection, which means you should connect a printer to the POS software. At this point, make sure you are using the updated version of your POS system on Windows OS. Once done, you can choose from the following ways to connect your printer and POS system.
- Connect via USB
If you go by this method, then simply attach a USB cable to your PC or laptop. Your printer and office device will be close to each other, so you can quickly print a receipt without relying on the internet connection.
- Ethernet Connections
This is a perfect option for those who want to share the printer with multiple terminals and not just a single terminal. What you need to do is connect the Ethernet cable from the receipt printer to your office router, and it’s done.
- Connect Via WiFi
Connecting with a secure WiFi is an excellent way to ensure your printer is working smoothly. But, for that, you need to get a WPS-friendly printer that connects to the router with a single press of a button.
- Bluetooth Connections
If you are using POS software in a mobile app, then Bluetooth connection is the best way to connect your printer wirelessly. Obviously, it does not take time because it gets connected as soon as you turn on Bluetooth from settings.
2. Download the Driver for Windows
In the next step, look for the correct driver for your printer model and current Windows version. PC users can even insert a CD in order to install the driver. Other users might have to take a look at the printer manufacturer’s website and search for the driver.
Do it carefully by following the steps below, and always make sure you download the correct driver that is compatible with your existing Windows OS.
Below are the steps to follow in order to install the driver:
- Open the Settings, and find ‘Printers and Scanners’ under Bluetooth & Devices (for Windows 10 users).
- Now, click on ‘Add a device’ located at the top and choose your receipt printer.
- You can also use an existing port option to which you have connected the printer.
- In case the printer model is not visible, go for Have Disk and navigate to the location of the printer driver.
- Click on Next and continue following the on-screen instructions.
Once completed, you can then jump to the next step, i.e., to configure the printer with your software.
3. Install the Software & Configure
Download and install a reliable POS software from the Microsoft Store on your Windows device. At this point, you have already installed the correct drivers, so move on to the configuration part directly. Below is what you will do to configure the printer in the desktop POS.
- Launch the POS app on your Windows Device
- Enter the Settings → App Settings → Printer
- Add a printer by tapping on the “+”. Then, select it.
- You’ll be asked to choose print mode: Normal or Thermal.
- Click on Thermal and save the changes.
Later, you can adjust logo size, data format, columns, and also decide whether to show or hide the specific parameters.
4. Run a Test Print
After setting up everything, take a test print to learn if everything is working as expected. Also, double-check the receipt format and ensure the cash drawer opens and closes automatically (if connected).
So, how will you do it? Let’s find out.
- Go back to your device’s Settings > Bluetooth & Devices
- Find a POS receipt printer (for example, Epson TP-001)
- You’ll find the option ‘Print test page’.
This way, you can confirm whether your printing device is working properly and delivering a crystal clear receipt.
Get Thermal Receipts Without Draining Your Time
Don’t let your ordinary POS system drain your time and effort. Switch to Moon POS and make receipt generation a breeze.
Benefits of Integrating Thermal Printers with POS Systems
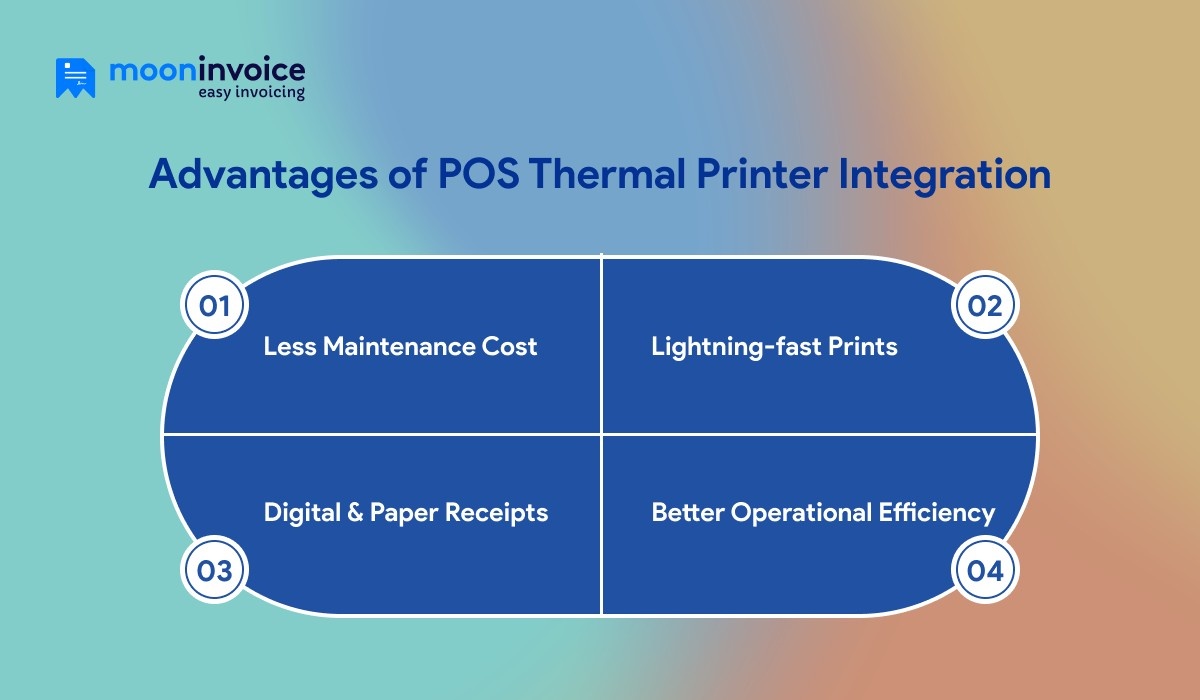
There are many benefits of using thermal printers instead of traditional printers. Here are a handful of their benefits.
1. Less Maintenance Cost
If you use old printers, you are the one who frequently buys refills and changes messy ink cartridges. Thermal printers no longer use ink cartridges and are less likely to break down, lowering the overall cost of maintenance and helping you generate receipts.
2. Lightning-fast Prints
These modern printing machines are much quicker than traditional machines. They are so fast that you get a receipt printout in the blink of an eye. Also, they produce heat to print receipts and do not rely on ink, meaning they are much quicker than the outdated printing machines.
3. Digital & Paper Receipts
Although every printing machine is capable of generating paper and digital payment receipts, thermal printing machines have a slight edge over others. Unlike old printers, thermal pos printers do not require manual commands while generating or saving a digital receipt. Some of them can also send it to the buyers automatically.
4. Better Operational Efficiency
Thermal receipt printers can help you level up your overall efficiency because they get you receipts printed as soon as you get paid. As a result, you neither need to switch between devices nor re-enter the details to make a separate receipt.
Thermal Printer Setup for Small Business Invoicing: Best Practices for Maintenance
Let’s refer to the best practices that are widely used by small businesses to maintain their thermal printing machines.
- Choose high-quality thermal paper: Prioritize the use of high-quality thermal paper over low-grade paper that might save some bucks, but can leave residue on the print head, leading to faded or unclear prints.
- Update software regularly: Don’t forget to keep the existing POS software up-to-date so that it runs smoothly and helps you share receipts in a timely manner. The updated software is also required to combat connectivity issues and minor printing errors.
- Review the usage patterns: Closely monitor how often you use the printer to determine if any part needs to be replaced. In case you use it on a daily basis, then the machine is likely to experience wear and tear. According to your usage, you can plan for cleaning and maintenance of the printer.
- Train staff in troubleshooting techniques: Organize training sessions for your team to troubleshoot known issues like paper jams or loss of connection. Educating on troubleshooting techniques can really help them get rid of printing problems.
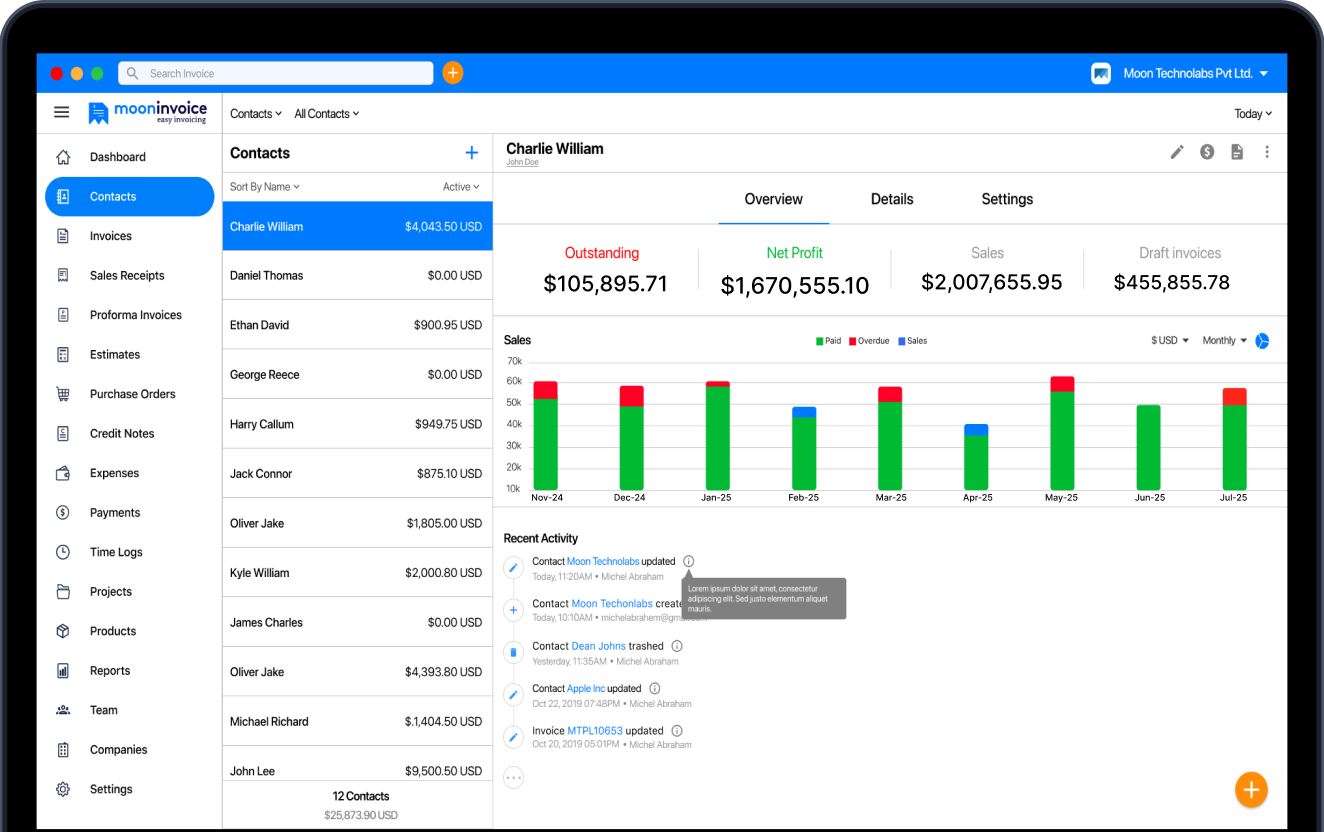
Moon POS: The All-in-one Billing & Point of Sale [POS] System
Connecting your thermal printer is just half the job done. You still need a trustworthy POS software to take care of your billing and receipt generation.
Moon POS, a modern POS billing software, can do it all alone. That’s right, the one reliable software can aid you in billing your clients as well as printing nice-looking receipts within seconds.
Actually, there’s a lot more. You can even allow your guests to place orders via kiosk, online, and offline as well. It will generate/print an order confirmation and KOT at the same time on your command.
Later, you can ask the guests to pay online via multiple cashless payment modes and take a thermal receipt printout without lifting a finger.
Speaking of a thermal printer, it’s not-so-complex to connect with Moon POS. Unlike other traditional software, you can easily navigate through settings and find the option to connect the printer in the App settings and integrate a thermal printer. This will hardly take a minute.
Queue-bust Right Away Using Moon POS
Hand over thermal receipts without asking the guest to wait.
Instant orders
On-time payment
High-quality receipts
Conclusion
No matter whether you’re a retailer, restaurant owner, or running a café in the hustle and bustle of the city, integrating a thermal receipt printer with your POS software matters most. It is not only crucial for fast receipt printing, but also to reduce maintenance costs and drive customer satisfaction.
Referring to this step by step guide to install a POS thermal printer, now you know how easy it is to connect a receipt printer. Besides printing machines, having professional billing and POS software is also important. Because when you don’t have a printer-friendly POS tool on your device, your printer is of no use.
On that note, we recommend you try Moon POS, a software that understands your needs and aids you in billing & receipt generation. Embark on your 7-day free trial journey.
General Questions About Thermal Printers
How to connect thermal printer to Moon Invoice?
How to configure receipt printer for mobile POS app?
What is the best billing software for thermal printers?
How to print a receipt from a POS machine?
We at Moon Invoice, are the best minds behind smarter invoicing and seamless business growth. We love to solve financial problems and keep providing effective tips through our blogs, newsletters, and social media channels. As a team, we continue exchanging ideas about growing financial challenges and smart use of automation tools.